
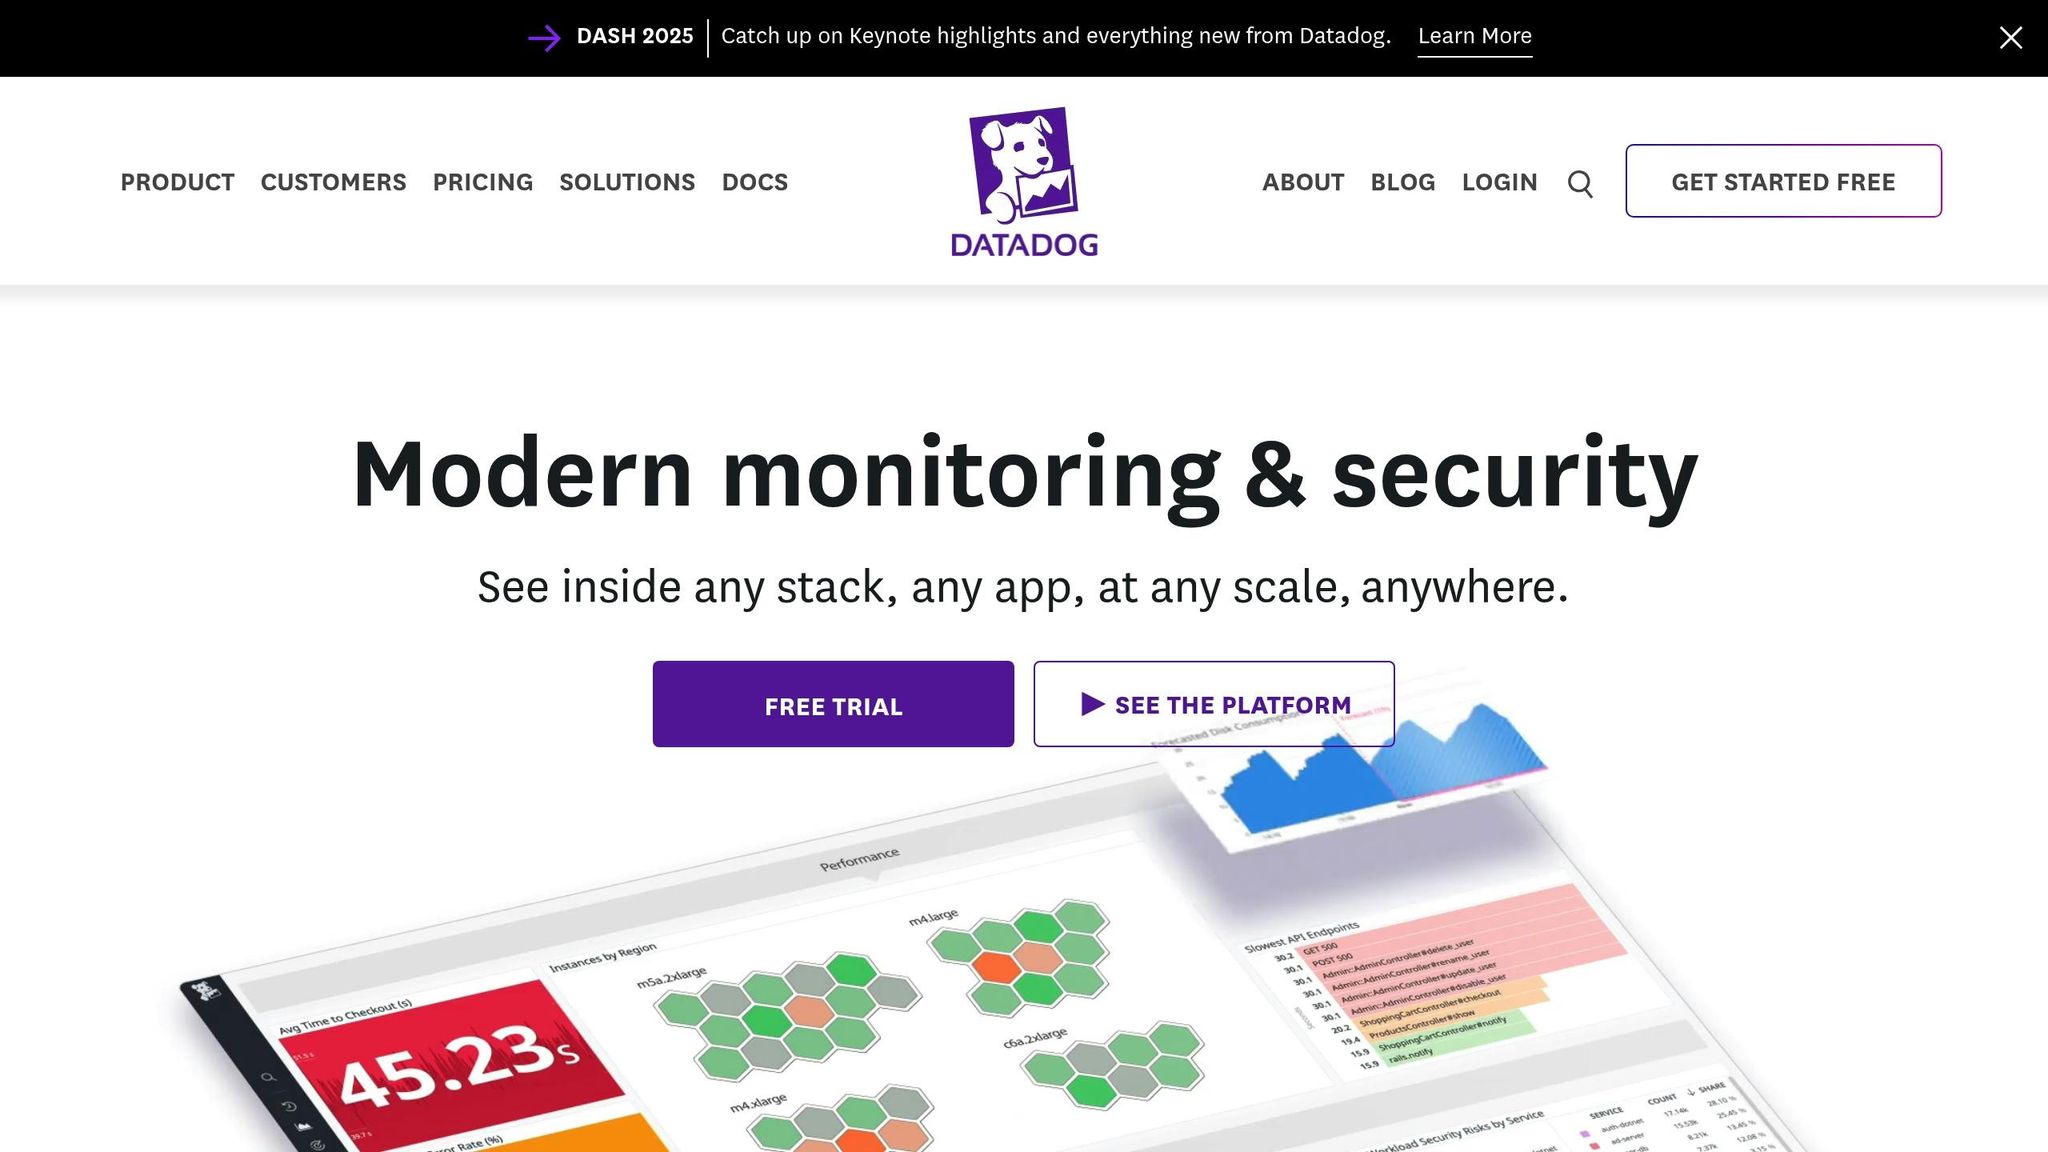
Datadog Metric Collection: Beginner's Guide
Learn how to set up Datadog for effective metric collection, optimize monitoring, and avoid common pitfalls for small and medium-sized businesses.

Datadog simplifies metric monitoring for businesses by collecting and analyzing data from servers, containers, databases, and applications. This guide explains how to set up Datadog, organize metrics effectively, and avoid common monitoring mistakes. Key takeaways:
- Metrics Matter: Track performance (CPU usage, errors, revenue) to improve systems and business outcomes.
- How Datadog Works: Install the Agent, connect integrations (AWS, MySQL), and monitor with dashboards and alerts.
- Best Practices:
- Use tags for clear organization.
- Focus on critical metrics like latency, traffic, and errors.
- Avoid overloading dashboards or alerts.
Datadog helps businesses monitor performance, resolve issues faster, and connect technology metrics to business goals. Follow these steps to optimize your setup and make data-driven decisions.
Datadog 101 Course | Datadog Tutorial for Beginners | SRE | DevOps
Setting Up Datadog for Metric Collection
Getting started with Datadog is straightforward, especially for small and medium-sized businesses. The process involves three key steps: creating an account, installing the Agent, and setting up integrations to connect your systems. Let's break it down.
Creating Your Datadog Account
To begin, head over to Datadog's website and click on "GET STARTED FREE" to register your company details.
The free trial gives you access to Datadog's core features without needing to provide a credit card. This allows you to explore the platform and figure out which tools work best for your business. After signing up, you'll receive an API key. This key is crucial for linking your systems to Datadog.
Once your account is ready, the next step is installing the Datadog Agent, which is the backbone of metric collection.
Installing the Datadog Agent
The Datadog Agent acts as the connection between your infrastructure and the Datadog platform. This lightweight software runs on your servers, containers, or cloud instances, collecting system metrics and sending them to Datadog for analysis. Despite its powerful functionality, the Agent uses minimal resources.
It collects around 75–100 metrics every 15–20 seconds, offering detailed insights into your systems with little to no manual configuration. The Agent supports a variety of environments, including Windows, macOS, Docker containers, Kubernetes clusters, and even on-premises data centers.
Installation steps depend on your operating system and setup. For those using AWS, Datadog simplifies deployment through AWS Systems Manager (SSM). Just search for datadog in the SSM document tab, select the appropriate Linux or Windows installation document, and deploy the Agent across multiple EC2 instances at once. To enable this, ensure your EC2 instances have the AmazonSSMManagedInstanceCore permission in their IAM roles. This setup also automates Agent updates across your infrastructure.
| Requirement | Linux | Windows |
|---|---|---|
| CPU Usage | ~0.08% baseline | ~0.08% baseline |
| Operating System | Most modern distributions | Windows Server 2008r2+ |
| Memory | 256MB minimum | 256MB minimum |
| Disk Space | 200MB recommended | 200MB recommended |
Once installed, the Agent's configuration file will include your API key and specify which metrics to track. The default settings are a good starting point, but you can tweak them as needed.
Connecting Integrations for Metric Collection
One of Datadog's biggest advantages is its ability to integrate seamlessly with your existing tools and services. These integrations allow you to start collecting metrics right away.
Cloud provider integrations are a great starting point. Connect Datadog to AWS, Azure, or Google Cloud Platform (GCP) to monitor cloud infrastructure. For database metrics, integrate with systems like MySQL, PostgreSQL, and Redis. For web server insights, connect to Apache, Nginx, or HAProxy.
Database and application integrations come next. Datadog supports popular databases like MySQL, PostgreSQL, Redis, MongoDB, and Elasticsearch. These integrations track critical metrics such as query performance, connection counts, and resource usage. Setting up a monitoring user with specific permissions is often required, and Datadog provides detailed instructions for each type of database.
Web server and load balancer integrations are also essential. Whether you're using Apache, Nginx, HAProxy, or a cloud-based load balancer, these integrations provide data on traffic patterns, response times, error rates, and backend health.
Setting up an integration is simple: open the Integrations tab, locate the service you want to connect, and follow the detailed setup steps. Most integrations will require authentication credentials or API keys, which you can get directly from the respective service.
Once everything is connected, the integrations start collecting data immediately. Within minutes, you'll see this information populating your Datadog dashboards, giving you a complete view of your systems. This streamlined process ensures your infrastructure is seamlessly connected to Datadog's powerful monitoring tools.
Optimizing Metric Collection for SMBs
Make the most of Datadog by focusing on collecting only the metrics that genuinely matter. This approach ensures your dashboards remain clear and actionable, helping small and medium-sized businesses (SMBs) make data-driven decisions without unnecessary clutter. By refining your metric collection, you can transform your Datadog setup into a tool that delivers targeted insights aligned with your business goals.
Using Tags and Filters to Organize Metrics
Tags play a crucial role in keeping your metrics organized in Datadog. These key:value pairs or simple labels add essential context to your data, making it easier to analyze. Without a well-thought-out tagging strategy, your metrics can quickly become a tangled mess, complicating analysis and decision-making.
A structured tagging system allows for multi-level filtering - whether by service, environment, or role - making your dashboards more dynamic. For instance, template variables can turn static dashboards into flexible tools. Instead of building separate dashboards for each environment or service, you can create one adaptable dashboard that adjusts based on selected filters. This approach saves time and ensures consistency across your monitoring setup.
When developing your tagging strategy, focus on dimensions that align with your business operations. Common tags for SMBs might include:
- Environment: production, staging, or development
- Team ownership: which team is responsible
- Geographic location: where the service is being used
- Service type: the type of application or infrastructure
Consistency is key - ensure your entire team follows the same tagging rules. Filters work alongside tags to display only the most relevant metrics, which is especially helpful during incident response when clarity is critical.
Managing Metric Detail Levels
The granularity of the metrics you collect greatly influences both your monitoring effectiveness and costs. As Datadog co-founder Alexis Lê-Quôc points out, "data is inexpensive to collect but crucial to have when needed". For SMBs, finding the right balance between detailed monitoring and cost control is essential.
Datadog’s Metrics without Limits feature is a powerful tool for managing costs without sacrificing visibility. By reducing the granularity of metrics that aren’t actively used in dashboards or alerts, this feature can cut custom metrics usage by up to 70%. It’s a smart way to optimize your monitoring setup.
Think carefully about your monitoring needs when choosing metric detail levels. For instance, real-time data collection every 10 seconds might be critical for production systems, while hourly aggregations could suffice for analyzing historical trends. Using pre-aggregated data and rollups can also help manage data retention. For example, you might store high-resolution data for the past 7 days and keep lower-resolution summaries for longer periods. This approach allows you to track trends while keeping storage costs in check.
Focus on metrics that directly support your business objectives. For example:
- An e-commerce platform might prioritize response times and error rates.
- A content management system might track database query performance and cache hit rates.
Avoiding Common Metric Collection Mistakes
To keep your monitoring effective, avoid the common pitfalls of over-instrumentation, cluttered dashboards, and inconsistent naming. Collect only metrics that provide actionable insights.
Before adding a new metric, ask yourself: “Will this help us make better decisions or respond to incidents faster?” If the answer isn’t clear, it’s better to hold off.
Research shows that organizations focusing on user-centric monitoring see a 30% boost in efficiency. This highlights the importance of prioritizing metrics that matter most to your users. Instead of cramming everything onto one dashboard, consider creating role-specific views tailored to the needs of different teams.
Choosing the right visualization type is equally important. Use:
- Line charts for trends over time
- Bar charts for comparing categories
- Heat maps for spotting patterns across two dimensions
Proper visualization makes it easier to identify critical patterns in your data.
Establish clear naming standards early and document them for your team. Include details like the metric type, the system it measures, and its purpose. This consistency will save time and reduce confusion later.
Be cautious with high-cardinality tags - those with many unique combinations. Tags like user or transaction IDs can drive up storage costs if used excessively on frequently collected metrics. Use them sparingly.
Finally, set precise alert thresholds from the beginning. Alerts that trigger too often can lead to fatigue, while thresholds set too high may miss critical issues. Start conservatively and refine based on your system’s behavior and business needs.
For more tips on optimizing your Datadog setup for SMBs, visit Scaling with Datadog for SMBs.
Monitoring and Alerting Best Practices
Effective monitoring and alerting can transform Datadog from a passive tool into an active guardian of your operations. For small and medium-sized businesses (SMBs), this means catching potential problems before they affect customers while cutting down on unnecessary alerts. Building on your initial Datadog setup, these practices help improve how you manage incidents proactively.
Setting Up Baseline Metrics
Establishing baseline metrics is a must for SMBs to quickly identify anomalies. Think of these baselines as your system's "normal." Without them, pinpointing performance issues or unusual activity becomes a guessing game.
Start by focusing on the four golden signals of monitoring: latency, traffic, errors, and saturation. For latency, keep an eye on response times for key user-facing operations. Monitor traffic to understand request rates and overall user activity. Track both application errors and infrastructure failures, and use saturation metrics to gauge how close your systems are to their limits.
In addition to these, monitor CPU, memory, and network usage to catch resource bottlenecks early. Documenting what "normal" looks like in your environment is just as important - update these benchmarks as your application grows or user behavior shifts. Pay special attention to database performance by tracking metrics like query execution times and connection pool usage, as these can often signal underlying issues.
Make sure to revisit and adjust baseline ranges regularly as your business and systems evolve.
Creating Alerts for Critical Issues
To avoid alert fatigue and ensure timely responses, use a mix of threshold-based, anomaly, and composite alerts. The aim is to notify your team only when something truly needs attention, not every time a minor fluctuation occurs.
- Threshold-based alerts: Set these for metrics that have clear boundaries, ensuring they trigger only after consistent deviations, not brief spikes.
- Anomaly detection: Leverage Datadog's machine learning to identify unusual behavior in time-varying metrics, reducing the need for manual configuration.
- Composite alerts: Combine multiple conditions - like high resource usage paired with unusual traffic patterns - to provide better context and cut down on noise.
Align your alert escalation policies with your team's workflow. For example, you might notify an on-call engineer first, escalate to team leads if the issue persists, and involve management only if the problem remains unresolved.
You can also fine-tune alert thresholds based on business activity. For instance, deviations during peak hours might require immediate attention, while the same issue during off-hours could be less critical. Use alert tags to ensure notifications go directly to the right teams for faster resolution.
Reviewing Dashboards Regularly
Monitoring doesn’t stop with setting up alerts - your dashboards play a critical role in keeping your systems running smoothly. Regularly updating your dashboards ensures they remain relevant and actionable as your business changes.
Meet with your team periodically to review dashboards. Remove outdated metrics, add new ones that align with shifting priorities, and adjust for seasonal or operational changes. This process helps keep your monitoring efforts focused and effective.
Design dashboards for specific roles to make the data more accessible. For example, executives might need high-level business metrics and overall system health, while engineers and support teams benefit from detailed technical insights.
With remote work becoming more common, make sure your dashboards are mobile-friendly. Datadog’s dashboard usage analytics can help identify which dashboards are actively used and which ones need updating or removal.
Lastly, document the purpose of each dashboard, its intended audience, and the actions to take when anomalies appear. Review your visualizations regularly - use line charts for trends, heat maps for patterns, and bar charts for comparisons - to ensure the data is clear and easy to interpret.
For more tips on optimizing Datadog for SMBs, check out Scaling with Datadog for SMBs.
Key Takeaways
Setting up Datadog for metric collection is a simple process for small and medium-sized businesses (SMBs). These metrics provide real-time insights into your systems, helping you detect issues early and take action before they escalate.
To get started, follow these three steps:
- Create your Datadog account
- Install the Datadog Agent
- Connect key integrations
This process connects you to a wide range of integrations, allowing you to begin collecting metrics almost immediately.
Use tags and filters to organize your metrics, making it easier to identify trends and set up alerts. Start with the pre-configured integrations and dashboards Datadog offers, and then expand by adding custom metrics as your needs grow.
Proactive monitoring is where Datadog shines. Focus on core signals like latency, traffic, errors, and saturation, and establish baseline metrics for your critical systems. For example, setting up monitors for CPU usage or error rates can help you respond quickly to potential problems. Smart alerting is key - calibrate your alerts carefully to avoid being overwhelmed by unnecessary notifications. With Datadog, businesses can reduce incident resolution times by up to 75%.
Keep your monitoring strategy up to date by reviewing and adjusting it regularly. Update dashboards, remove irrelevant metrics, and fine-tune alert thresholds as business priorities change. Consider creating role-specific dashboards - executives can track high-level business metrics, while technical teams dive into the details needed for troubleshooting.
Effective metric collection does more than just keep your systems running smoothly. It helps optimize resources, improve uptime, and support data-driven decision-making. As more SMBs turn to cloud-native monitoring solutions, mastering these basics can give you a clear edge in maintaining system reliability.
For more tips and guidance on maximizing your Datadog setup as your business grows, check out Scaling with Datadog for SMBs.
FAQs
How can small and medium-sized businesses set up Datadog for effective metric collection?
To get Datadog up and running for effective metric collection in small and medium-sized businesses, start by pinpointing the key applications and infrastructure that require monitoring. Prioritize the most critical systems first, then expand your monitoring scope as your business evolves.
Set clear objectives for what you want to track, and configure alerts with meaningful thresholds that align with your operational needs. It's important to ensure your team knows how to respond to these alerts quickly to reduce potential downtime.
Take time to plan the installation process carefully. This helps ensure a smooth setup while balancing performance and cost considerations. By following best practices, you can fully leverage Datadog’s features and improve the efficiency of your systems.
How can I design Datadog dashboards to stay focused on key insights without feeling overwhelmed?
When building Datadog dashboards, focus on key metrics that directly support your monitoring objectives. Organize related metrics into groups and keep the layout clean with a manageable number of widgets per view to prevent visual clutter.
Tailor timeframes to suit your data needs - use shorter timeframes for real-time monitoring and longer ones for spotting trends. Make it a habit to review and update your dashboards regularly so they remain relevant, showing only actionable insights that align with your business goals. A straightforward, well-organized dashboard is easier to read and more useful for making informed decisions.
How can I use tags and filters in Datadog to better organize and monitor my metrics?
To keep your metrics well-organized in Datadog, focus on applying clear and consistent tags. Unified service tagging helps tie your telemetry data together across different systems, making it much simpler to filter and group metrics effectively. Tags can be used to break down data by teams, applications, or services, which makes monitoring more targeted and accurate.
When creating filters, aim to keep them straightforward and relevant. While tags provide a lot of flexibility, it's important to manage how many you use - too many can drive up costs and complicate your system. By carefully applying tags and filters, you can streamline your ability to visualize and track key metrics without overloading your setup.


