Setting Up Datadog Alerts: A Complete Guide
Learn how to set up Datadog alerts effectively to monitor systems, reduce downtime, and optimize your business operations.

Want to stay ahead of system issues and prevent costly downtime? Datadog alerts are the key. They help you monitor infrastructure, applications, and services in real-time, ensuring smooth operations for your business. Here’s what you’ll learn in this guide:
- Why Datadog Alerts Matter: Proactively address issues before they disrupt operations.
- How to Set Up Alerts: Install the Datadog Agent, configure data collection, and create monitors for metrics, logs, and events.
- Types of Alerts: Metric, log, anomaly, and more, tailored to your needs.
- Best Practices: Reduce alert noise, prioritize critical issues, and automate notifications.
Quick Tip: Use tools like Slack, PagerDuty, and JIRA for seamless alert management. Ready to optimize your monitoring? Let’s dive in.
I07.1 Datadog Monitors 101: Smarter Alerts, Anomalies & ...
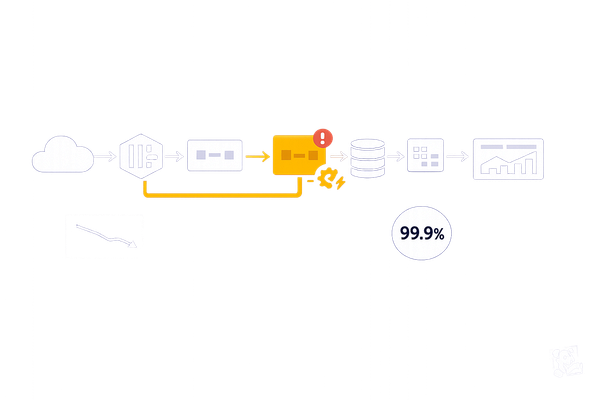
Setup Requirements for Datadog Alerts
Before setting up alerts, you'll need to prepare the main components required for Datadog monitoring.
How to Install the Datadog Agent
The Datadog Agent is lightweight, using about 0.08% of CPU while collecting 75–100 system-level metrics every 15–20 seconds.
Here’s how to install it based on your environment:
-
Local Hosts
Download the official installer directly from your Datadog account. -
Containerized Environments
For Docker, use this command to install the Agent:docker run -d \ --name datadog-agent \ -v /var/run/docker.sock:/var/run/docker.sock:ro \ -v /proc/:/host/proc/:ro \ -v /sys/fs/cgroup/:/host/sys/fs/cgroup:ro \ -e DD_API_KEY=<YOUR_API_KEY> \ gcr.io/datadoghq/agent:latest -
Cloud Platforms
Use platform-specific methods, such as Chef, Puppet, or Ansible, to install the Agent on cloud environments.
Once the Agent is installed, you'll need to configure it to collect the data necessary for alerts.
Setting Up Data Collection
Now, configure the Agent to gather the required data for monitoring.
System Metrics to Track
- CPU, memory, disk, and network usage
Application Data to Monitor
- Response times
- Error rates
- Custom metrics
- Service checks
Here are the key steps to configure data collection:
-
Integration Setup
Enable integrations for the technologies in your stack. For instance, activate the Kubernetes integration to track pod CPU usage and memory saturation. -
Log Collection
Update the Agent’s configuration file to collect logs. This setup allows you to create alerts based on log patterns or specific content. -
APM Configuration
Deploy the appropriate language-specific agent (e.g., Java for monitoring latency and error rates) to track application performance.
Finally, define thresholds for critical metrics. For example, use the system.disk.in_use metric to trigger alerts when disk usage exceeds 85%.
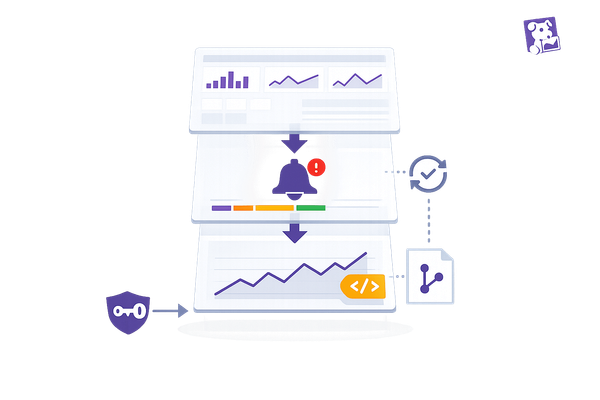
Creating Datadog Alerts: Basic Steps
Types of Datadog Monitors
Datadog offers various monitor types to suit different monitoring goals:
| Monitor Type | Purpose | Example Metrics |
|---|---|---|
| Metric | Tracks performance | CPU usage, memory, response times |
| Log | Detects specific keywords | Error messages, security events |
| Event | Monitors activities | Infrastructure changes, deployments |
| APM | Monitors app performance | Latency, error rates, throughput |
| Anomaly | Spots unusual patterns | Traffic spikes, usage trends |
Building Your First Alert
Follow these steps to create your first Datadog monitor:
1. Access Monitor Creation
Go to the Monitors section in your Datadog dashboard and click "New Monitor." Choose the monitor type that matches what you need to track.
2. Define Alert Conditions
Set up the conditions for your alert. For example, to monitor disk usage:
- Select the
system.disk.in_usemetric. - Set a threshold, such as triggering the alert at 70% usage.
- Pick a time window, like "over the last 10 minutes."
- Write a clear alert message with actionable steps.
3. Set Up Notifications
Decide where and how you want to receive notifications. Personalize the alert message to include:
- What caused the alert.
- Instructions for resolving the issue.
- Links to dashboards or relevant data.
- Team responsibilities.
Once you've done this, you can apply these steps to scenarios common for SMBs.
Alerts for Common SMB Scenarios
Here’s how to tailor alerts for specific small or medium-sized business (SMB) needs:
Infrastructure Monitoring
Track Kubernetes health by setting up alerts for pod performance. For example, create an alert that triggers if pod CPU usage stays above 80% for more than 10 minutes.
Application Performance
Keep an eye on Java application metrics. Set alerts to notify you when average response times exceed your predefined limits.
Security Monitoring
Use log-based alerts to identify potential security issues, such as:
- Failed login attempts.
- Attempts to gain unauthorized access.
- Unusual spikes in traffic.
- Configuration changes.
To minimize unnecessary notifications, consider using Datadog's composite monitors. These allow you to combine multiple conditions into a single alert, helping you focus on critical issues without being overwhelmed by alert noise. This way, you maintain a clear view of your system while avoiding unnecessary distractions.
Alert Management for SMBs
Effectively managing alerts is just as important as creating them. By using smart thresholds, setting priorities, and leveraging the right notification channels, SMBs can ensure timely responses to critical issues.
Setting Smart Alert Thresholds
Fine-tuning alert thresholds helps you focus on real problems while reducing unnecessary noise. Here’s how to get it right:
- Use evaluation windows (like 5–10 minutes) to filter out short-lived spikes.
- Set recovery points lower than alert levels - for example, alert at 90% usage but recover at 80% - to avoid constant toggling.
- Analyze trends to establish normal baselines and adjust thresholds accordingly.
Once your thresholds are in place, the next step is to organize alerts by their importance.
Alert Priority Levels
Prioritizing alerts ensures that critical issues are addressed immediately, while less urgent matters can wait. Here’s a breakdown:
| Priority Level | Response Time | Notification Channel | Example Scenarios |
|---|---|---|---|
| P1 - Critical | Immediate | PagerDuty, SMS | Service outages, security breaches |
| P2 - High | Within 30 minutes | Slack, Email | Performance degradation, error spikes |
| P3 - Medium | Within 2 hours | Email, Dashboard | Warning thresholds, capacity alerts |
| P4 - Low | Next business day | Email digest | Non-critical updates, trend reports |
When setting up these tiers, include tags like {{#is_alert}} ... {{/is_alert}} for critical notifications or {{#is_warning}} ... {{/is_warning}} for lower-priority alerts.
Notification Channel Setup
The right notification channels ensure the right people get the message. Here are some options to consider:
- Slack Integration: Create dedicated Slack channels for alerts, including severity levels, key metrics, and direct links to relevant dashboards.
- Email Notifications: Configure detailed email alerts with multiple recipients to ensure proper coverage.
- PagerDuty Setup: Use PagerDuty for critical alerts, enabling automated escalations and on-call rotations.
For the most urgent situations, add SMS notifications using Twilio webhooks to make sure nothing slips through the cracks.
Alert Setup Tips for SMBs
Managing alerts effectively doesn't have to be complicated. By taking advantage of Datadog's built-in tools and features, you can simplify your monitoring processes and keep your systems running smoothly.
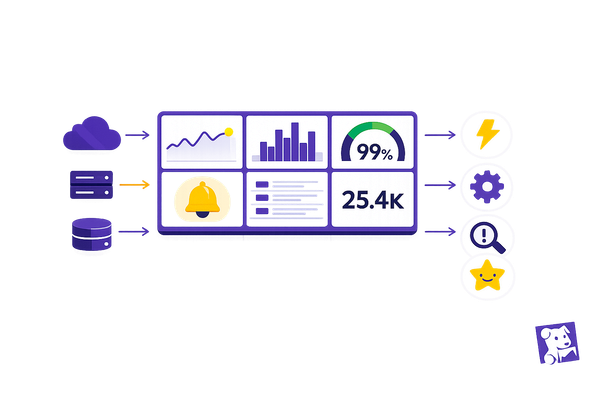
Using Default Dashboards
Datadog’s pre-built dashboards offer instant insights into your systems as soon as you activate the necessary integrations. These dashboards are designed to help you:
- Keep an eye on system health with clear visual data
- Spot potential problems early, before they affect users
- Analyze alert patterns and frequency over time
For SMBs, the Monitor Notifications Overview dashboard is especially useful. It highlights your noisiest alerts and tracks alert trends, helping you fine-tune settings to cut down on unnecessary notifications. Once you’ve gathered these insights, connect them with your existing workflow tools for a more seamless process.
Connecting Your Tools
Linking Datadog to your existing tools makes it easier to respond to alerts quickly and efficiently. Here’s how some popular integrations can help:
| Integration Type | Purpose | Benefits |
|---|---|---|
| Slack/MS Teams | Real-time communication | Alerts sent to team channels for immediate visibility |
| JIRA | Issue tracking | Automatically create and update tickets for incidents |
| Webhooks | Custom workflows | Trigger specific actions or enhance current processes |
| PagerDuty | On-call management | Automate escalations and manage rotations effectively |
Adjusting Alerts for Business Growth
As your business grows, your alerting strategy should evolve too. Building on dashboards and integrations, here’s how to scale your alerts effectively:
1. Group Related Alerts
Consolidate alerts by grouping them based on dimensions like service, cluster, or host. This reduces notification overload while keeping coverage intact.
2. Enable Machine Learning
Activate Watchdog to detect anomalies automatically. This tool identifies unusual patterns that might go unnoticed with traditional threshold-based alerts.
3. Use Preconfigured Monitors
Leverage Datadog’s recommended monitors, which are built using insights from technology partners and customer feedback. These provide a strong starting point that you can tweak to meet your unique requirements.
To prevent alert fatigue as you grow, consider these additional steps:
- Extend evaluation windows for more accurate alerts
- Set recovery thresholds to avoid repetitive notifications
- Schedule downtimes for planned maintenance
- Use conditional variables to route alerts to the right teams
Conclusion: Main Points
Setting up effective Datadog alerts is key to managing systems proactively. As Alexis Lê-Quôc from Datadog explains:
"Automated alerts are essential to monitoring. They allow you to spot problems anywhere in your infrastructure, so that you can rapidly identify their causes and minimize service degradation and disruption".
These ideas build on earlier steps for configuring and fine-tuning alerts. Focus on symptoms instead of root causes, and use automated alerts to quickly pinpoint and address issues.
Some best practices for maintaining reliable alerts include:
- Track Critical Metrics: Monitor important thresholds, such as disk usage exceeding 85% or CPU usage staying above 80% for more than 10 minutes.
- Manage Alert Volume: Reduce noise by grouping notifications, extending evaluation windows, and setting recovery thresholds to prevent overload.
- Automate Where Possible: Use tools like Doctor Droid to streamline alert investigations and cut down on repetitive tasks.
For small and medium-sized businesses, Segment's experience highlights the importance of well-set alerts. Calvin French-Owen, Co-Founder of Segment, shares:
"Datadog's robust alerting capabilities are crucial for the operations team here at Segment. Our team needs to understand the difference between a minor concern and something that needs all hands on deck".
FAQs
How can I reduce unnecessary alerts in Datadog to focus on the most important issues?
To minimize unnecessary alerts in Datadog and focus on critical issues, start by identifying and adjusting noisy alerts. Fine-tune thresholds, increase evaluation windows, or add recovery conditions to reduce false positives and avoid frequent notifications.
Group similar alerts by service or environment to streamline notifications, and use event correlation to treat related alerts as a single incident. You can also implement tiered alerts to differentiate between high-priority and low-priority issues, ensuring the right people are notified based on urgency.
Finally, schedule downtimes during planned maintenance to suppress alerts and focus on actionable insights. By refining your alerting strategy, you can reduce noise and respond more effectively to critical system events.
How can I set effective alert thresholds in Datadog to minimize unnecessary notifications?
To reduce unnecessary notifications, it's important to set alert thresholds thoughtfully:
- Use a longer evaluation window to account for more data points, helping to filter out temporary spikes or fluctuations that don't indicate real issues.
- Set recovery thresholds to confirm that an issue is fully resolved before clearing the alert, which helps avoid repeated notifications for the same problem.
- Focus alerts on symptoms of critical, user-facing issues rather than potential causes. This ensures you're notified only when immediate action is needed.
By fine-tuning these settings, you can create smarter alerts that keep your team informed without overwhelming them with noise.
How do I connect Datadog alerts to tools like Slack and PagerDuty for better alert handling?
Integrating Datadog alerts with tools like Slack and PagerDuty helps streamline alert management and ensures your team responds quickly to critical issues.
To set up Slack, install the Datadog app in your Slack workspace and configure which channels will receive notifications. This allows you to share graphs, receive alerts, and even declare incidents directly within Slack. You can also use the /datadog command to perform quick actions.
For PagerDuty, you can configure Datadog alerts to trigger incidents in PagerDuty. When the underlying metrics return to normal, the incidents can automatically resolve. Each PagerDuty alert can include relevant Datadog graphs or dashboards, giving your team context for faster issue resolution.
By integrating these tools, you can centralize notifications and improve collaboration during incidents, ensuring timely and effective responses.