Set Up Role-Based Dashboard Access in Datadog
Learn to implement role-based access control in Datadog to enhance security and streamline dashboard management for your team.
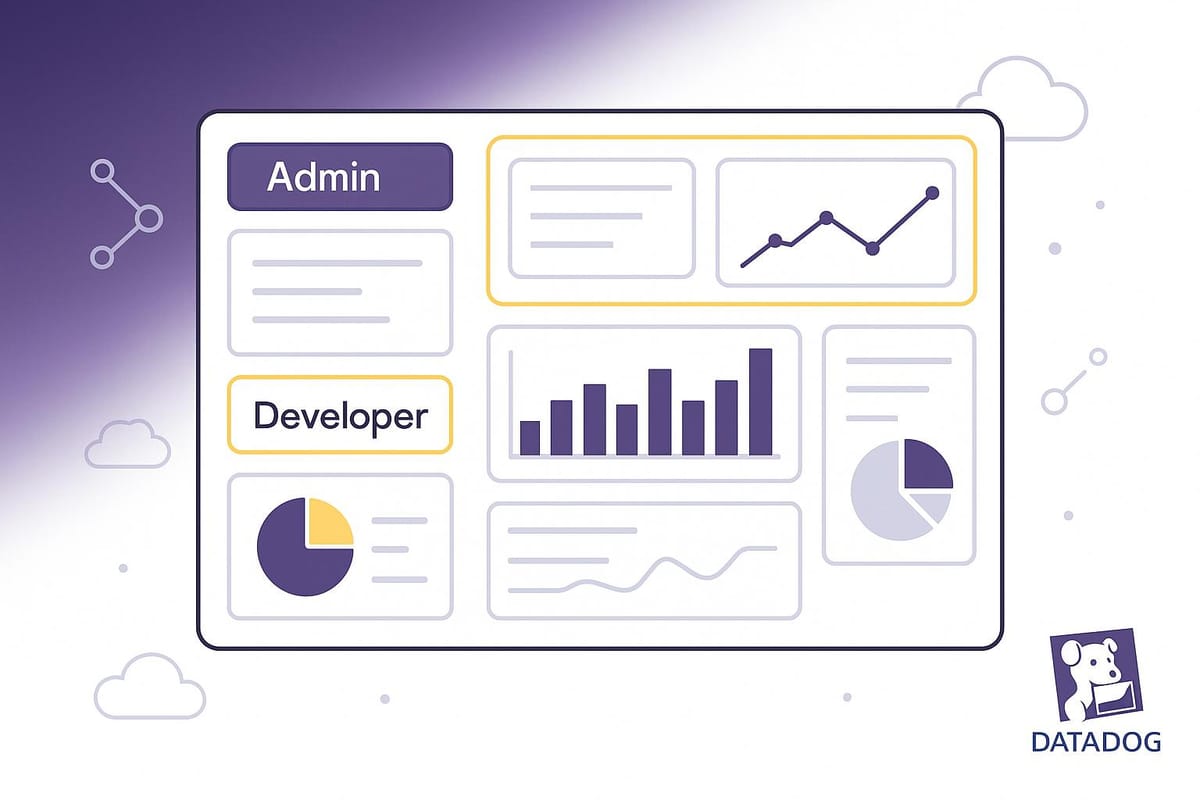
Role-based access control (RBAC) in Datadog ensures that team members only access what they need - nothing more, nothing less. This is essential for security and efficiency, especially for small and medium-sized businesses (SMBs). Here's what you need to know:
-
What is RBAC?
A system to manage permissions by assigning roles (e.g., "Marketing Analytics") to users or teams, ensuring access is limited to relevant dashboards. -
Why it Matters:
- Protect sensitive data (e.g., finance team doesn’t see server metrics).
- Streamline access for growing teams.
- Reduce risks of data breaches.
-
Steps to Set Up RBAC:
- Audit current user roles and permissions.
- Create custom roles with specific permissions.
- Assign permissions to dashboards (e.g., view-only for executives).
- Map roles to teams for scalable access.
- Use Single Sign-On (SSO) and automation tools for efficiency.
-
Best Practices:
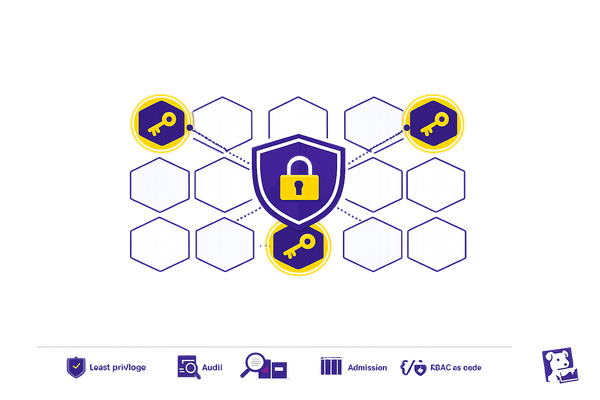
- Apply the principle of least privilege (only give necessary access).
- Regularly review and update roles.
- Avoid static credentials; use short-lived, auto-rotating ones.
RBAC in Datadog is a scalable way to manage permissions, protect data, and grow securely. Start small - focus on core teams and dashboards - then expand as your business evolves.
Getting Ready to Set Up Role-Based Access
Before diving into role-based access control (RBAC) setup, take some time to review your current system and organize your resources. A little preparation goes a long way in ensuring a secure and efficient implementation.
Requirements for Setting Up RBAC
To set up RBAC in Datadog, administrative permissions are a must. These permissions allow you to create custom roles, modify access levels, and manage dashboard permissions. If you’re not an admin, reach out to your Datadog administrator to either gain the necessary permissions or have them handle the setup for you.
It’s also essential to have a clear understanding of your dashboard organization and team roles. Start by grouping dashboards into logical categories that align with your teams' workflows. For instance, your development team might need full access to application performance dashboards but only read access to infrastructure metrics. On the other hand, executives may only require high-level business dashboards without diving into technical details. Clearly mapping out these distinctions and documenting team responsibilities will help you avoid over-privileging users while maintaining tight security boundaries.
Check Current User Roles and Permissions
Start by auditing current access and permissions to identify any security gaps or outdated roles. In your Datadog account, navigate to Organization Settings and select Users to review all team members and their assigned roles. Create a detailed list of each user, their current role, the dashboards they frequently access, and the level of access they actually need. This process will help you pinpoint unnecessary or excessive permissions that need to be adjusted.
Next, perform an access pattern analysis to see how permissions are being used. Review dashboard usage statistics to identify which team members actively rely on specific dashboards. This data not only informs future permission assignments but also highlights dashboards that may need better organization or clearer naming. For example, users who haven’t accessed certain dashboards in months likely don’t need ongoing access to them.
How to Set Up Role-Based Dashboard Access
Now that you've reviewed your current setup, it's time to establish role-based access control for your dashboards. This process involves creating custom roles, assigning specific permissions, and organizing access in a way that balances security with collaboration.
Create Custom Roles
To start, go to Organization Settings > Roles and click New Role. Give the role a clear, descriptive name, like "Development Team Dashboard Access."
When setting permissions, focus on dashboard-specific options - such as view, edit, clone, or delete - to ensure each role gets only what it needs. Stick to the least privilege principle: for example, junior developers might only need view access in production but can have edit permissions in development. This minimizes the risk of accidental changes to critical dashboards while still giving teams the visibility they need.
Document these roles thoroughly so it’s easy to assign appropriate access to new team members later. Once your roles are ready, you can link them to specific dashboards.
Assign Permissions to Dashboards
After creating custom roles, the next step is assigning permissions to individual dashboards or groups of dashboards. Navigate to your Dashboard List, select a dashboard, click the Settings icon, and choose Permissions.
Here, you can assign your custom roles with precision. For instance, you might allow your "Frontend Team" role to view and edit dashboards related to UI performance, while restricting access to database performance dashboards that aren't relevant to their work. This targeted approach helps reduce unnecessary dashboard clutter while maintaining proper security boundaries.
To make managing permissions easier, group similar dashboards together. For example, if you have several dashboards tied to e-commerce functionality, organize them into a folder or use consistent naming conventions. Then, apply the same permission set to all related dashboards. This not only saves time but also ensures consistent access across related resources.
For sensitive dashboards - like those containing financial data or business-critical metrics - consider applying stricter access controls. For example, create a "C-Level Executive" role with view-only permissions for high-level dashboards. This ensures visibility without risking accidental sharing or cloning of sensitive information.
Set Up Team-Based Access
Once dashboard permissions are in place, map roles to teams for scalable access management. Team-based access allows you to align roles with organizational groups, making it easier to manage permissions as your business grows. In Datadog, go to Organization Settings > Teams to create logical groupings that reflect your company structure.
Set up teams that match your organizational hierarchy, such as "Engineering", "Marketing", "Sales", or "Operations." Assign the appropriate custom roles to each team so that team members automatically inherit the right dashboard permissions when they join. This approach simplifies administration as new employees come on board.
For even greater efficiency, integrate SSO (SAML) to sync team memberships and role assignments automatically. For example, when someone joins the marketing team in your HR system, they’ll instantly gain the correct dashboard access without requiring manual updates from your Datadog administrator.
Temporary access can also be useful for cross-department projects. Say you’re preparing for a product launch - create a temporary team, like "Product Launch 2025", with members from engineering, marketing, and sales. Assign this team access to the relevant dashboards, and once the project wraps up, dissolve the team and revoke access.
Finally, test your setup by creating test users or asking team members to confirm they can access the dashboards they need while being restricted from sensitive areas. This step helps identify gaps in your permission structure before they become issues in daily operations.
Best Practices for Managing Role-Based Access
Managing role-based access effectively takes consistent effort and thoughtful planning. These practices can help you maintain secure and efficient access to dashboards while reducing potential risks.
Use the Principle of Least Privilege
Stick to the principle of least privilege: give users only the access they absolutely need. To do this, ask key questions like: Who needs access? What resources do they need to access? When and how should they access them? Why do they need this access? And from where will they connect? This approach limits risks and prevents unnecessary changes to critical dashboards.
"Access is controlled based on the principle of least privilege." - Datadog
For instance, imagine engineering teams A and B both need access to the DB1 resource. If team A only needs to view the data, assign them a role with read-only permissions. Meanwhile, if team B also needs to make updates, grant them write or edit permissions.
Review and Audit Access Regularly
Configuring access is just the beginning - regular reviews are key to maintaining security. Conduct audits to identify and remove orphaned accounts and flag unusual access patterns. Centralized logging tools can make this process more effective and help ensure clear access boundaries as team roles shift over time.
Orphaned accounts, like those left behind by former employees or contractors, can pose significant risks. Set up a consistent review schedule to identify and remove these accounts, ensuring that only active and relevant users retain access.
Avoid Common RBAC Setup Mistakes
Beyond regular audits, steer clear of common mistakes that can weaken your role-based access control (RBAC) system. One major misstep is relying on static, long-lived credentials. Instead, opt for short-lived, auto-rotating credentials to minimize the window of vulnerability.
Scale Role-Based Access for Growing Teams
Once you've set up precise dashboard permissions, the next step is to expand access management to keep up with your growing team - without compromising security. The goal is to create processes that work seamlessly, whether you're managing 10 users or 100, ensuring your role-based access control (RBAC) evolves alongside your business.
Automate Role Assignments
Managing roles manually can quickly become unmanageable as your team expands. The solution? Automate the process. With tools like Datadog Workflow Automation and SCIM integration, you can automate user provisioning and deprovisioning based on factors like department, job title, or team membership.
Datadog's SCIM support works seamlessly with identity providers such as Okta and Microsoft Entra ID, enabling automatic updates to user access as roles change.
"With Datadog Workflow Automation, we can now automatically trigger workflows, gather critical info, and make decisions in seconds - without waking our team at 3am." - Jeremy Stinson, Chief Architect of SaaS, Precisely
These workflows also incorporate granular access controls, ensuring that only authorized users can modify or execute automation processes.
Connect with SSO for Better Access Management
To further simplify access management, integrate Single Sign-On (SSO). By using SAML-based SSO solutions like Microsoft Entra ID, you can streamline the onboarding process. Upload your Federation Metadata XML and test both SP-initiated and IDP-initiated authentication methods to ensure smooth functionality. With SSO in place, new users automatically inherit the appropriate dashboard permissions.
For best results, use the same signing certificate in both Datadog and your identity provider's administration portal. This alignment prevents potential authentication errors and keeps your system running smoothly.
Plan for Future Growth
As your team grows, having a scalable RBAC framework becomes increasingly important. Start by defining groups based on logical categories like departments, teams, or regions. For example, you could create separate groups for U.S.-based engineers and Europe-based engineers to address region-specific access needs.
"Scalable access control architecture solves the permission problems of today and in the future." - William Loy
Instead of trying to configure everything at once, take a phased approach. Begin with core teams and critical dashboards, gradually extending RBAC to other departments and use cases as your organization evolves. Flexibility is key - design your role structure to adapt to changes in job functions or new projects that require different access levels. This forward-thinking approach ensures your access management system remains effective as your business grows.
Conclusion
Role-based dashboard access in Datadog offers small and medium-sized businesses (SMBs) a straightforward way to manage monitoring permissions. By implementing role-based access control (RBAC), you create a secure and scalable system that protects your data while simplifying permission management. Below are the key highlights of why RBAC is a valuable addition to your Datadog setup.
Key Points Summary
RBAC delivers clear benefits by streamlining permission management. It separates permissions from individual users, making it easier to onboard new team members or adjust access as roles evolve. Bulk permission assignments also help minimize configuration errors.
This system is adaptable, allowing you to start with basic configurations and expand as your organization grows. Whether you need broad or highly detailed access controls, RBAC can accommodate these needs. Its ability to scale with your team ensures that it remains effective as your business expands.
Security is another critical advantage. Paired with multi-factor authentication (MFA), RBAC helps protect your monitoring infrastructure. A 2022 Verizon report revealed that 43% of data breaches involve small businesses, and Microsoft notes that MFA can prevent 99.9% of account compromise attacks.
It's also important to note that RBAC evolves over time. This adaptability is essential as your business scales, new roles emerge, and monitoring needs shift. A flexible access control system is key to keeping your organization secure and efficient.
With these benefits in mind, SMBs can take the following steps to implement and optimize RBAC effectively.
Next Steps for SMBs
Start by rolling out RBAC with your core teams and the most critical dashboards. Larger organizations often implement RBAC in stages, focusing on specific departments or business functions first. Gradual adoption allows you to refine the system as you expand its use.
Regularly review and audit roles to ensure they align with your current organizational structure. Enforcing strict policies, like the principle of least privilege, helps reduce security risks caused by outdated permissions.
Take advantage of other Datadog features to enhance your monitoring setup. Tools like dynamic alerts, cost optimization features, and security checks can further protect your data and ensure compliance with industry standards.
Lastly, make it a priority to gather feedback and monitor your security practices over time. Periodic reviews of roles, assignments, and RBAC configurations will help you maintain effective access control as your business grows.
For additional tips and expert advice on maximizing your Datadog setup, visit Scaling with Datadog for SMBs. You'll find resources tailored to the unique needs of growing businesses like yours.
FAQs
How can I create roles in Datadog that match my team's structure and workflows effectively?
To set up roles in Datadog that match your team's structure and workflows, start by pinpointing the responsibilities and access requirements for each team member. Leverage role-based access control (RBAC) to create custom roles, sticking to the principle of least privilege. This means granting just enough permissions for each role to perform its tasks securely and efficiently.
Organize users into logical groups based on their roles or departments. This not only simplifies management but also encourages teamwork. Make it a habit to review and update roles regularly to keep up with shifts in team dynamics or project needs. By doing so, your access management system will remain secure, efficient, and aligned with your organization's goals.
What should I watch out for when setting up role-based dashboard access in Datadog?
Configuring Role-Based Access Control (RBAC) in Datadog
When setting up role-based access control (RBAC) for dashboards in Datadog, one crucial pitfall to avoid is granting too many permissions. Stick to the principle of least privilege - assign users only the access they need to perform their specific tasks. Giving excessive permissions not only increases security risks but can also lead to unintended exposure of sensitive data.
Another common oversight is failing to regularly review and update roles. Team responsibilities shift over time, and outdated permissions can lead to inefficiencies or even security gaps. To address this, schedule regular audits to ensure that roles remain aligned with your organization’s current needs and adhere to security best practices.
By actively managing permissions and keeping roles up to date, you can ensure your RBAC setup in Datadog stays both secure and efficient.
How does Single Sign-On (SSO) simplify managing role-based dashboard access in Datadog?
Integrating Single Sign-On (SSO) with Datadog offers a more secure and streamlined way to manage access to dashboards. With SSO, users can log in using credentials from a centralized identity provider, cutting down on the hassle of juggling multiple passwords. This not only simplifies the login process for users but also reduces the administrative workload for IT teams.
What makes SSO even more powerful is its support for role-based access control (RBAC). Permissions are automatically assigned based on user roles, ensuring that team members can only access the dashboards and features necessary for their work. This approach strengthens security, helps meet compliance requirements, and keeps sensitive data protected. By simplifying both authentication and access control, SSO boosts operational efficiency while giving organizations better oversight of their Datadog environment.

